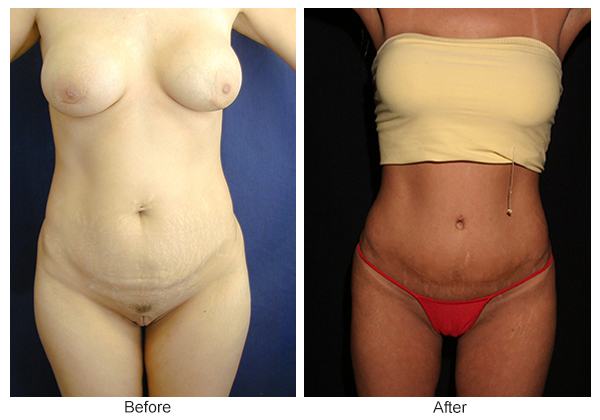
Before and After Liposuction 1 - F
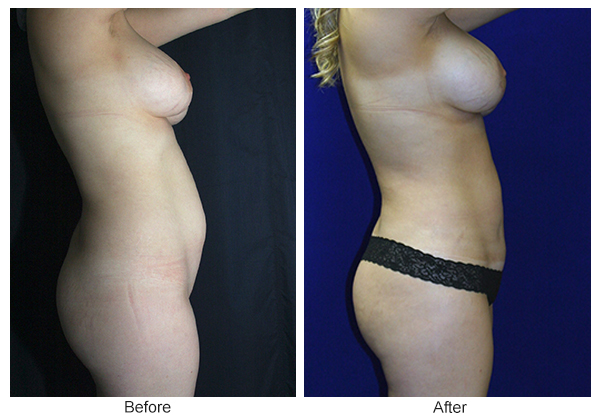
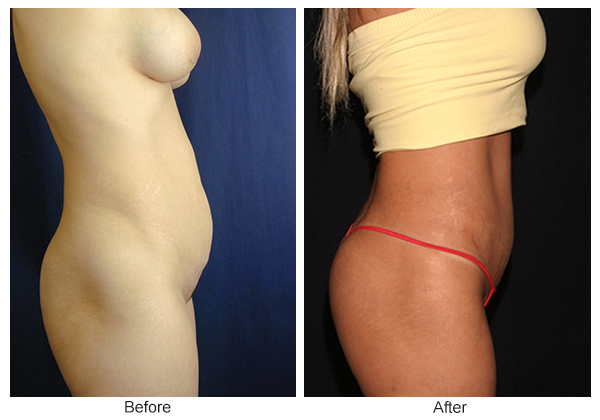
Before and After Liposuction 1 - R
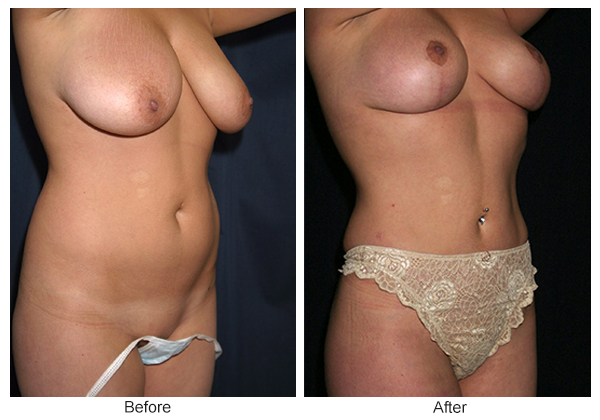
Before and After Liposuction 1 - RQ
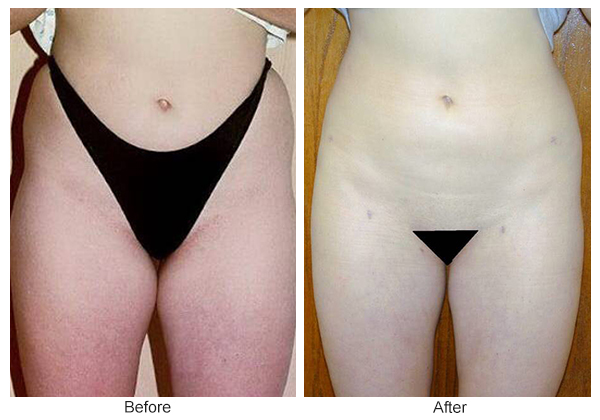
Before and After Liposuction 2 - LQ
Before and After Liposuction 2 - F
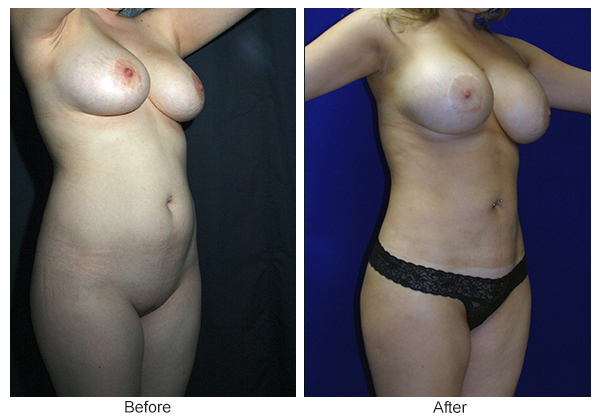
Before and After Liposuction 2 - RQ
Before and After Liposuction 2
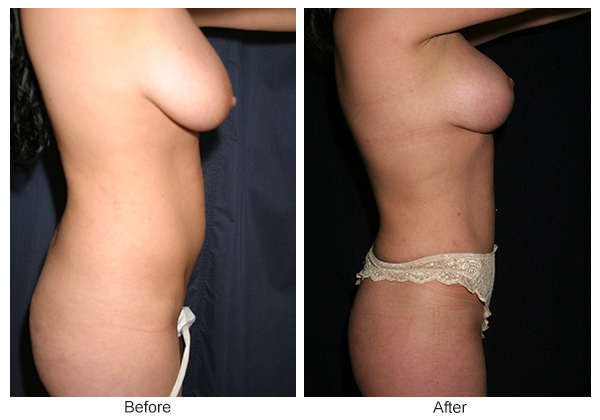
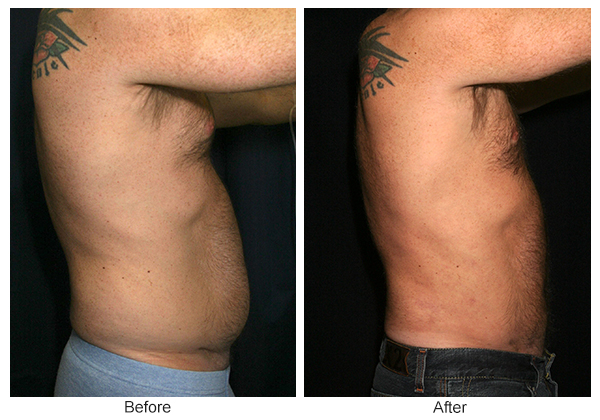
Before and After Liposuction 3 - L

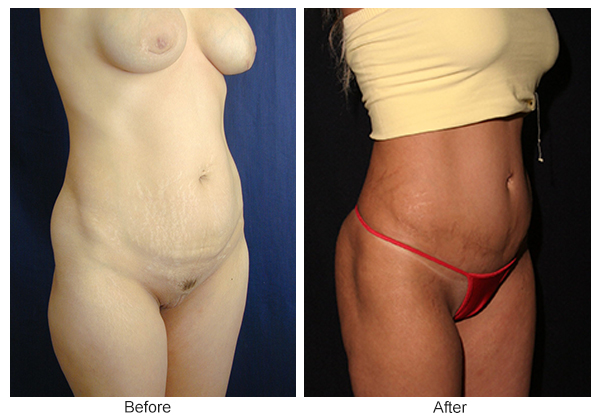
Before and After Liposuction 3 - LQ
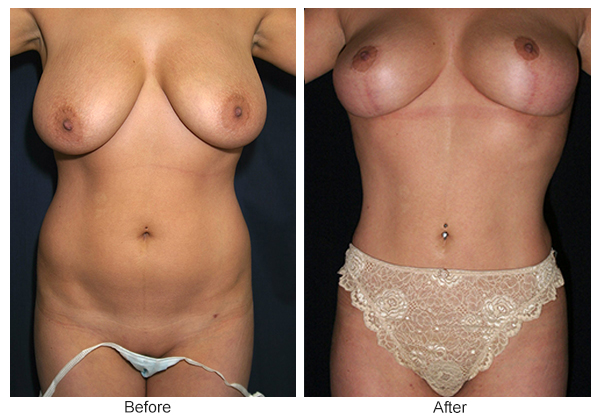
Before and After Liposuction 3 - F
Before and After Liposuction 3 - R

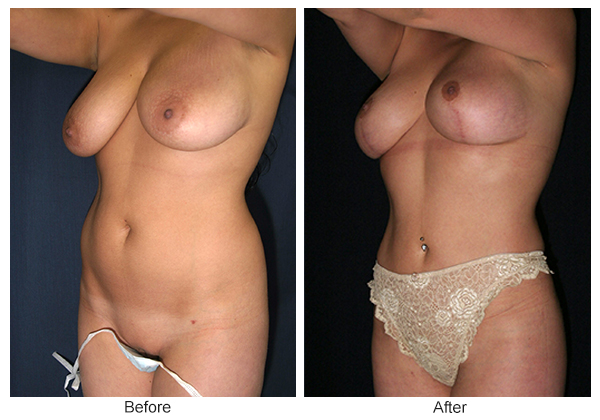
Before and After Liposuction 3 - RQ
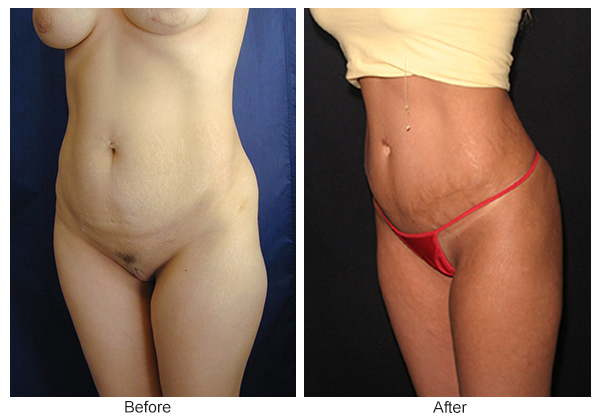
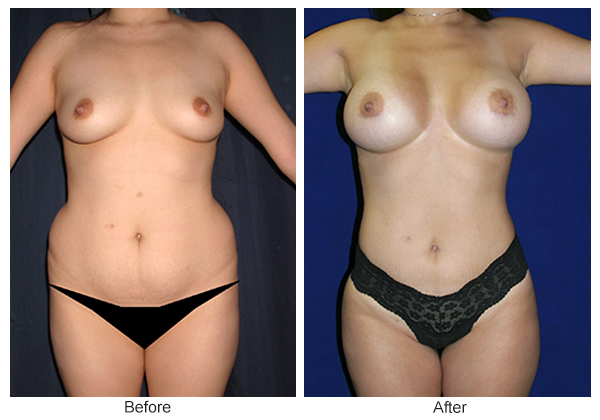
Before and After Liposuction 4 - F
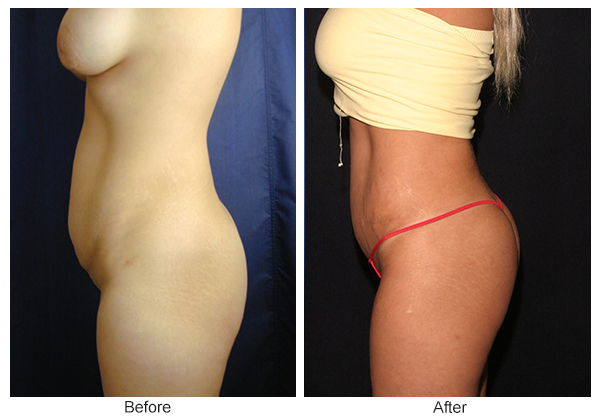
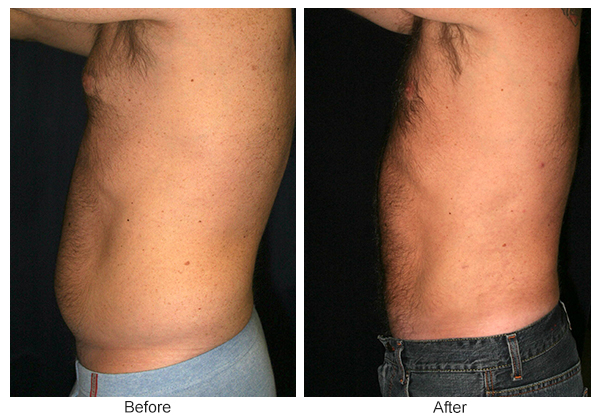
Before and After Liposuction 5 - L
Before and After Liposuction 5 - LQ
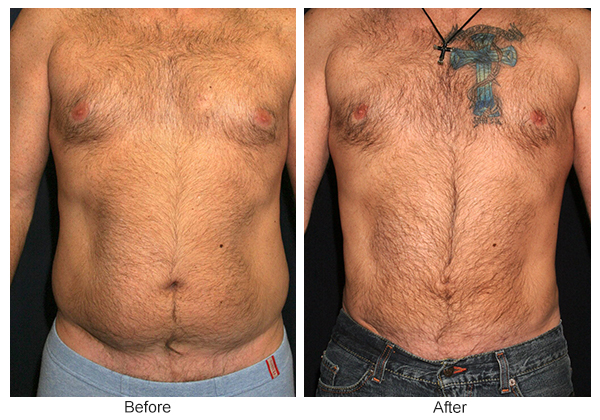
Before and After Liposuction 5 - F
Before and After Liposuction 5 - R
Before and After Liposuction 5 - RQ

Before and After Liposuction 6 - F
Before and After Liposuction 7 - F